


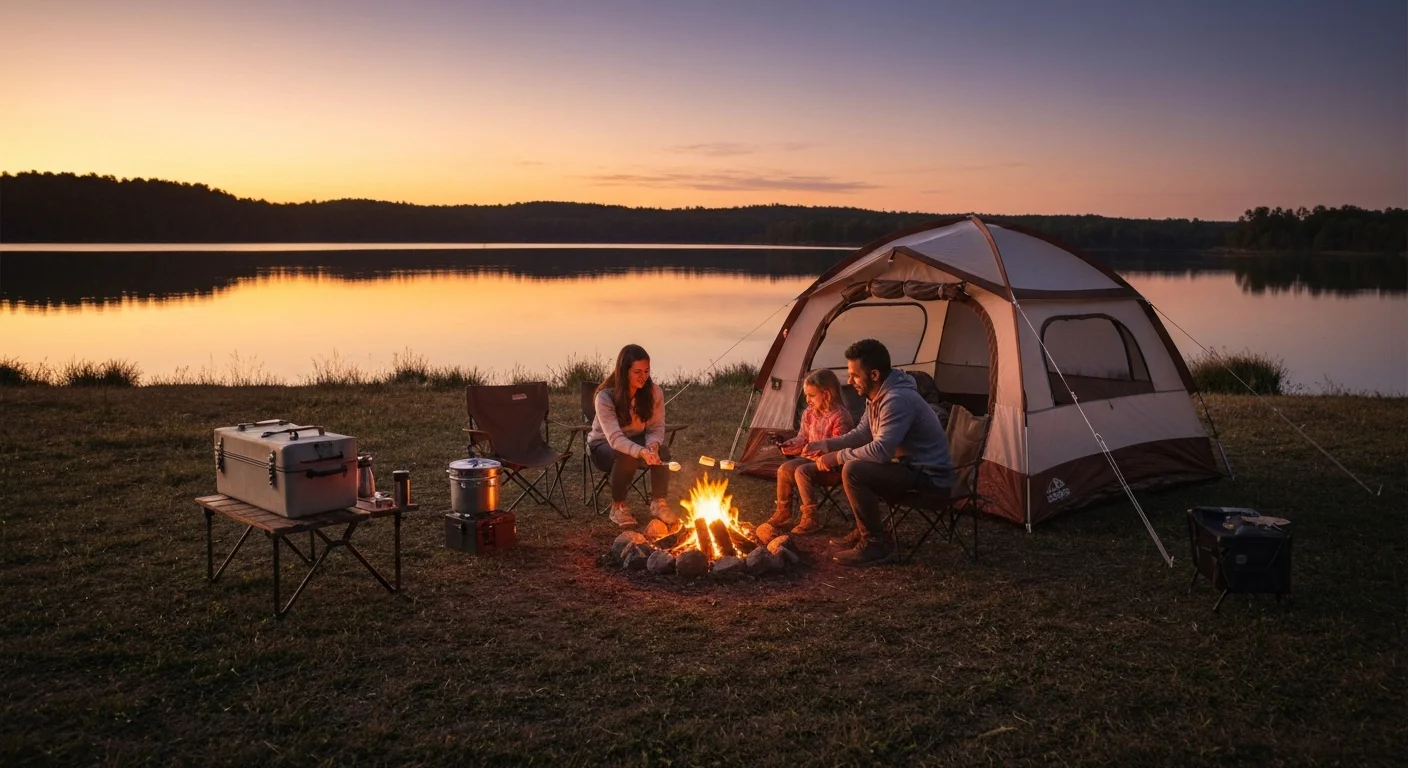
The whole point of camping is getting away from screens, routines, and the four walls of home. But once the tent is up and the fire is going, the question becomes: what do we actually do for the next 48 hours? Especially with kids who are used to being entertained by devices.
Good news — the outdoors is the best playground ever invented. You just need a few ideas to get started. Here are 20 camping games organized by when to play them: daytime adventures, campfire games for when the sun goes down, and rainy-day backups for when the weather doesn’t cooperate.
Daytime Adventure Games
When the sun is up and energy is high, these games make the most of the space, the trees, and the freedom that camping gives you.
1. Nature Scavenger Hunt
Make a list of items to find: a feather, a smooth rock, something red, a pinecone, animal tracks, three different leaf shapes. Hand out the lists and let kids explore the campsite area. For younger kids, use pictures instead of words. For older kids, add challenges like “find something that makes noise” or “find something an animal left behind.”
This one doubles as a nature education activity — kids learn to observe their surroundings instead of just walking past everything. And the competition of who finds their list first keeps them motivated for a solid 30-45 minutes.
2. Capture the Flag
Split into two teams. Each team hides a flag (or bandana, or sock) on their side of the campsite. The goal: steal the other team’s flag and bring it back to your territory without getting tagged. If you’re tagged on enemy territory, you’re frozen until a teammate taps you free.
This is the king of outdoor group games. It combines strategy, speed, teamwork, and the kind of adrenaline that you just can’t get from a screen. Works best with 6+ players and a campsite with natural boundaries (trees, paths, clearings).
3. Camping Olympics
Set up 5-8 outdoor challenges and run them as a tournament: longest stick throw, most accurate pinecone toss (into a bucket), fastest obstacle course, log balance challenge, water carry relay (fill a cup from the stream and carry it back without spilling). Keep score on a big poster. Award a silly trophy — a decorated pinecone or a stick crown — to the champion.
4. Outdoor Escape Room
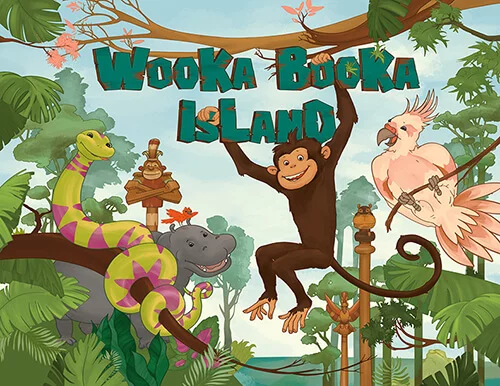
You can set up a printable escape room anywhere — including a campsite. Print the puzzle cards at home before you leave, hide clues around the campsite (under rocks, inside coolers, taped to trees), and let kids solve their way through a mystery surrounded by nature. Our Wooka Booka Island kit is literally themed around a tropical island adventure — it was made for outdoor play.
One of our customers, Marcie, transformed her entire backyard into an escape room for her grandsons. A campsite works even better — the trees, the fire pit, and the tent all become part of the game world.
5. Squirt Gun Races
Hang ping pong balls from a string tied between two trees. Give each kid a squirt gun. On “go,” they spray their ball to push it to the other end of the string. First one across wins. It’s a race that involves zero running and maximum laughing — plus everyone cools off on a hot day.
6. Water Relay
Two teams, two buckets at each end of a course. One full, one empty. Kids transfer water from the full bucket to the empty one using a cup — but they have to carry it on their head while walking. The team with the most water in their empty bucket after three minutes wins. Expect to get very, very wet.
7. Sleeping Bag Race
The camping version of a sack race — but with sleeping bags. Kids climb in, zip up to the waist, and hop to the finish line. It’s more unwieldy than a potato sack, which makes it funnier. Line up four kids at a time and let the rest spectate and cheer. Adults competing against kids is the highlight of any camping trip.
8. Glowing Ring Toss
Buy glow sticks, connect them into rings, and set up a stick in the ground as the target. This one transitions perfectly from daytime to dusk — start practicing during the day, then play the real game as it gets dark and the rings start glowing. The visual effect of neon rings flying through the twilight is genuinely magical for kids.
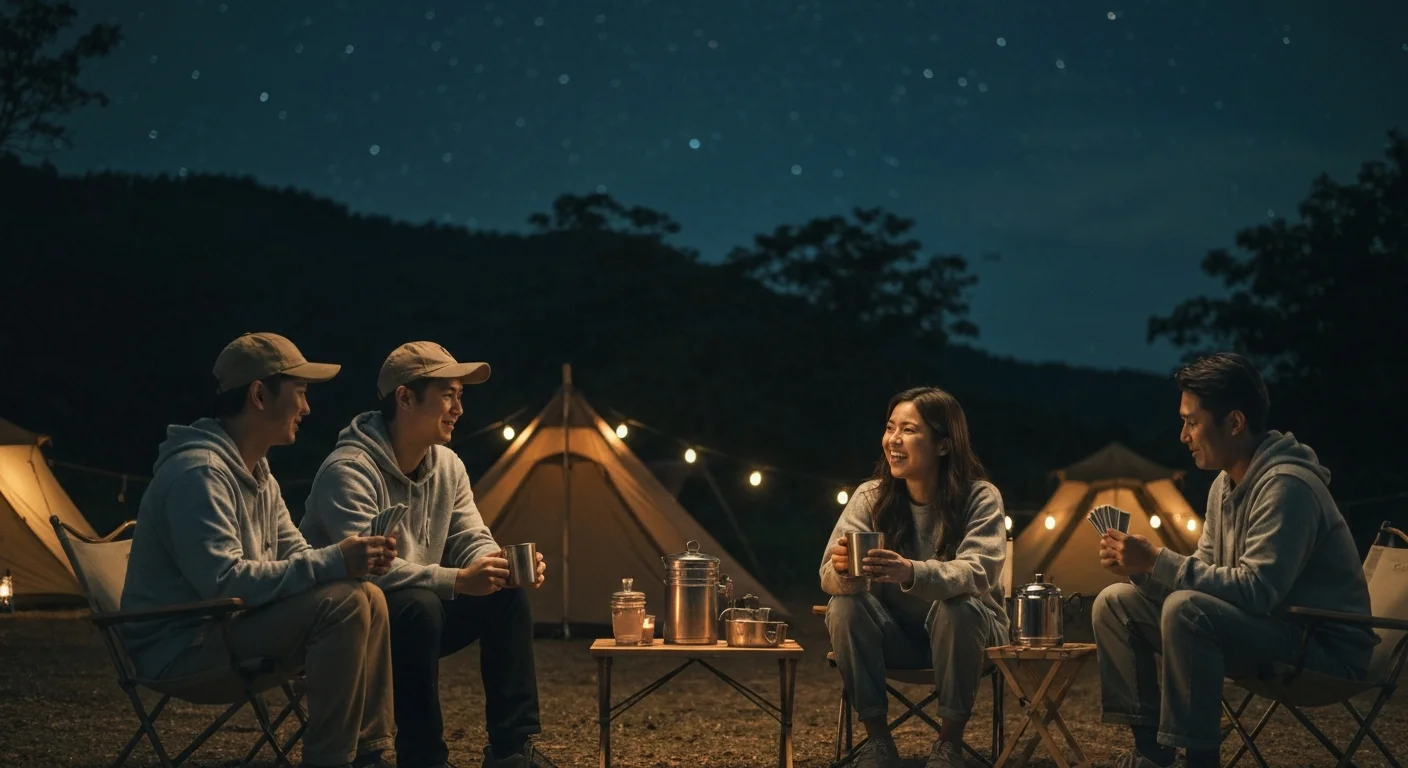
Campfire and Nighttime Games
When the fire is lit and the stars come out, the mood shifts. These games match that quieter, more atmospheric vibe — but they’re still plenty fun.
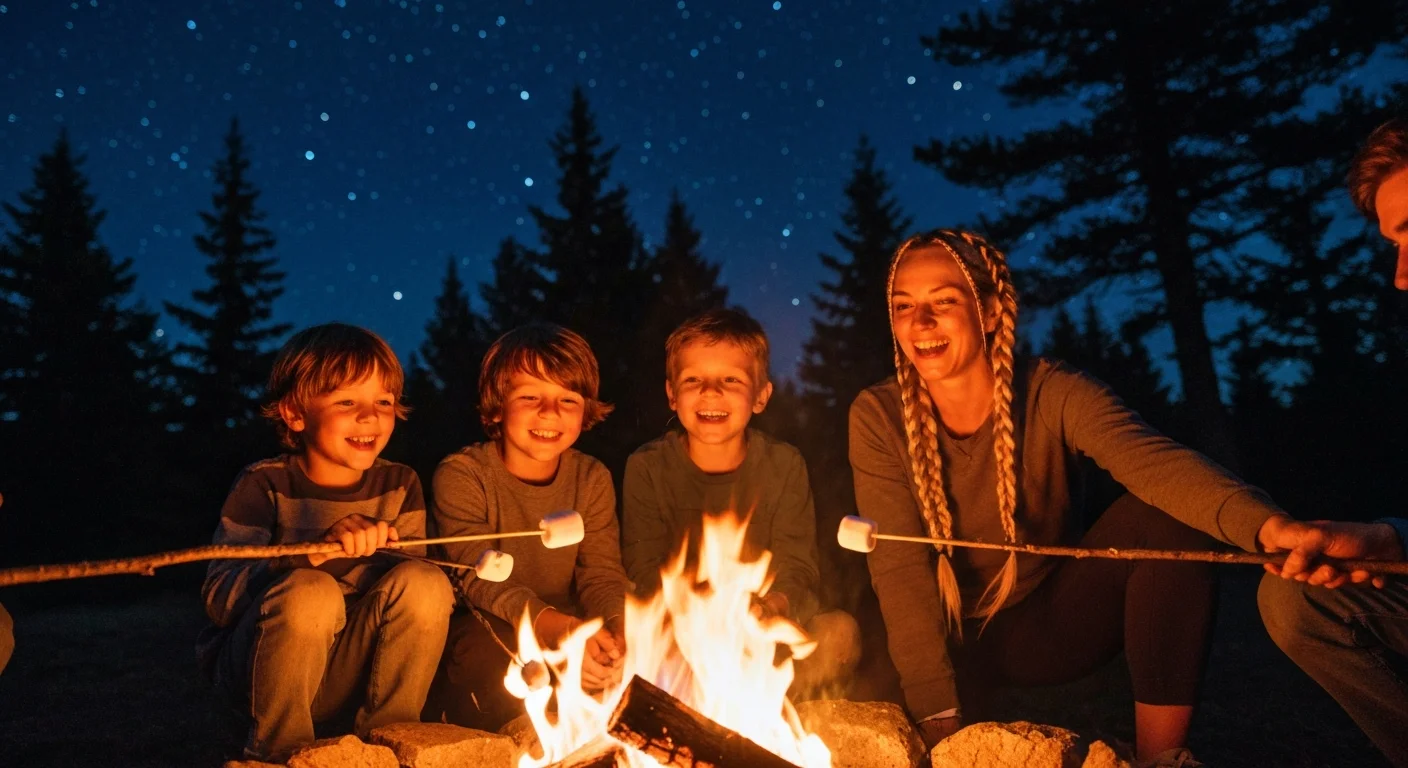
9. Campfire Story Contest
Everyone takes a turn telling a story by the fire. It can be spooky, funny, or totally made up — the only rule is you have to keep the group’s attention. Vote on the best story at the end. For younger kids, do a chain story where each person adds one sentence.
The campfire setting makes even a mediocre story feel atmospheric. Crackling fire, flickering shadows, and the darkness pressing in — kids get genuinely spooked by stories that wouldn’t scare them at home. That’s the magic of camping.
10. Flashlight Tag
Hide and seek meets tag, but in the dark. One person is “it” with a flashlight. Everyone else hides. If the light hits you, you’re tagged. The last person found becomes the next seeker. Set clear boundaries (stay within earshot of the campsite) and make sure the terrain is safe for running in low light.
This is consistently the game kids remember most from camping trips. Something about running through the dark, dodging a beam of light, with pine trees casting long shadows — it’s thrilling in a way that no daytime game can match.
11. Star Gazing Challenge
Lie on your backs away from the campfire and look up. Challenge each other: who can find the Big Dipper first? Can anyone spot a shooting star? Use a star chart app (one phone won’t hurt) to identify constellations and planets. Make up your own constellations — “that one looks like a dinosaur eating pizza.”
Most kids have never seen a sky without light pollution. The first time they see the Milky Way is a genuine moment of wonder. This isn’t really a “game” — it’s an experience that justifies the entire camping trip.
12. Mosquito Bites
One person puts their hands behind their back. The other players secretly place small stickers on them (the “mosquito bites”). When they turn around, they have to find all the stickers using only the sense of touch — no looking. Count how many they find versus how many were placed. Rotate who gets “bitten.” Silly, simple, and perfectly themed.
13. Two Truths and a Lie
Each person shares three statements — two true, one false. Everyone guesses which one is the lie. Around a campfire, people tend to share wilder truths than they would at home. It’s a great get-to-know-you game if you’re camping with multiple families or a scout troop.
Quiet and Rainy-Day Games
Rain happens. Having a few games that work under a tarp or inside a tent saves the trip from becoming miserable.
14. 20 Questions
One person thinks of an object. Everyone else gets 20 yes-or-no questions. Zero equipment, works in a tent, and kids learn deductive reasoning without realizing it. For a camping twist, limit answers to things you can see, hear, or find at the campsite.
15. Charades
Act out a word without speaking. Use camping-themed prompts: “setting up a tent,” “catching a fish,” “running from a bear,” “marshmallow catching fire.” Kids have to figure out the action. Small space under a tarp? Even better — the physical constraints make the acting more creative.
16. Simon Says
Works anywhere — tent, picnic table, clearing, car. One person gives commands, others follow only when preceded by “Simon says.” Speed up the commands for maximum chaos. Let kids take turns being Simon — the power trip entertains them endlessly.
17. Camping Bingo
Prepare bingo cards before the trip with camping-related items in each square: a bird, a squirrel, someone wearing a hat, a campfire, a log, a spider web, someone laughing. Play throughout the day — first person to complete a row wins. It turns the whole day into a low-key observation game.
18. Create a Nature Journal
Give each kid a small notebook and pencil. Challenge them to draw, describe, or press (between pages) everything interesting they find: unusual leaves, insects, rock patterns, cloud shapes, animal tracks. By the end of the trip, they have a personal record of everything they discovered. It’s the kind of activity that seems quiet but keeps kids engaged for hours.
19. Card Games
A single deck of cards is the most versatile entertainment per gram you can pack. Go Fish, War, Snap, Crazy Eights — for younger kids. Rummy, Spoons, or Egyptian Ratscrew — for older ones. Playing cards by lantern light inside a tent during a rainstorm is a core camping memory waiting to happen.
20. Noah’s Ark
Go around the circle naming animals in alphabetical order. Each person must name an animal and repeat all the previous ones: “Alligator.” “Alligator, Bear.” “Alligator, Bear, Caterpillar.” Miss one? You’re out. By the time you’re at the letter M with 12 animals to remember, it gets genuinely challenging — and the attempts to remember get funnier every round.
Related Reading
Our Ready-to-Play Game Kits
Pick a game, print, and play — it’s that simple!
-
Professor Swen’s Lab
Original price was: $24.90.$19.90Current price is: $19.90.Age: 9-1345-60 Min2-5 kids -

Tips for Camping Games
- Pack a game kit. Before you leave: a deck of cards, a few glow sticks, a ball, some rope, and a whistle. Weighs nothing, unlocks dozens of games.
- Match the energy to the time. Active games in the morning and afternoon. Campfire games at night. Quiet games when energy dips or weather turns.
- Set boundaries for dark games. Flashlight tag is amazing but only if everyone stays within a safe perimeter. Agree on boundaries before playing.
- Prep printable games at home. Scavenger hunt lists, bingo cards, and escape room kits need a printer. Do it before you leave — you won’t find one in the woods.
- Include adults. Camping games are infinitely better when parents and grandparents play too. A sleeping bag race between Dad and a seven-year-old is the highlight of any trip.
The best camping memories aren’t about the scenery — they’re about the time you spent with people you love doing something ridiculous in the middle of nowhere. These games give you those moments. Pack light, play hard, and leave the screens in the car.


Leave a Reply